
Pulling into a new campsite after six hours of mountain driving feels like reaching the finish line, but rushing your setup can turn into a midnight nightmare. Level 7 Google Guide reviews frequently highlight sites with fried pedestals or freezing pipes, but a quick five-minute inspection saves you from unhitching on a bad utility line. Here is our systematic field inspection routine for every new pad.
Testing Electrical Pedestals for Hidden Voltage Drops
Never plug your rig directly into a campground pedestal without testing it first with a reliable surge protector or digital multimeter. Look for burned breaker switches, melted outlets, or low voltage readings below one hundred and eight volts under load. Running sensitive air conditioners or induction cooktops on sagging voltage will ruin your expensive onboard electronics.
Evaluating Water Pressure and Spigot Condition
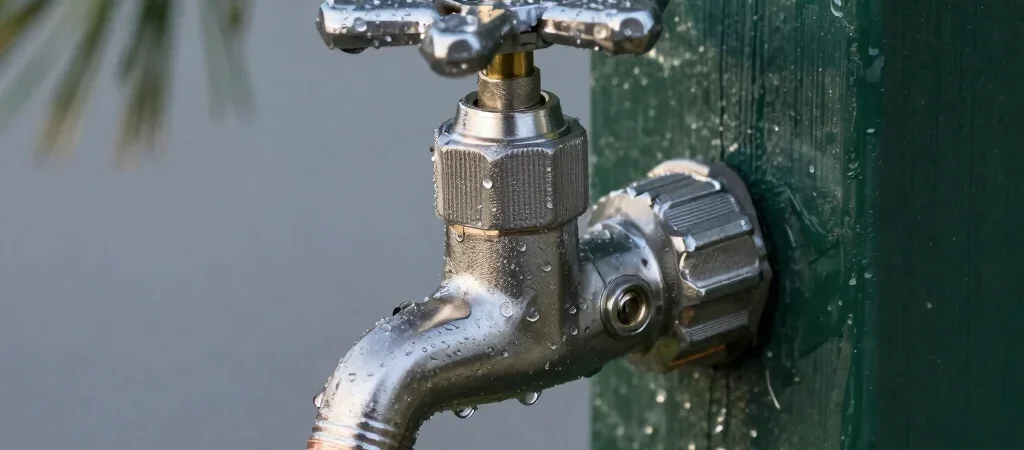
Campground water pressure fluctuates wildly between thirty and ninety pounds per square inch depending on how many rigs are hooked up nearby. Thread a solid brass water pressure regulator onto the spigot before connecting your drinking hose, and check for missing threads or constant drips around the valve stem. Note that some recommendations on our site contain affiliate links that earn a small commission at no extra cost to you.
Checking Pad Levelness and Overhead Clearance
Before dropping your stabilizer jacks or hydraulic leveling pins, walk the entire length of the pad with a handheld bubble level. Look up for low-hanging oak branches or hidden power lines that could scrape your roof solar panels or AC shrouds during high winds. A well-scouted pad prevents frame stress and guarantees a smooth evening.